
Table of Contents
Knowing how to apply makeup for photos can make a world of difference in how your face looks on camera. Makeup can be beautiful in real life but in pictures it can be too light, too shiny or uneven. Cameras, lighting, and even phone filters also affect how makeup looks, so it’s nice to use techniques that are made for photography.
Whether you’re taking selfies, creating content for social media, attending an event or getting ready for a professional photoshoot, the right makeup can help your features look defined, fresh, and natural.
In this guide you’ll learn how to do makeup for photos step by step including foundation, concealer, contour, blush, eyeshadow, eyebrows, lipstick and setting techniques.
How to Apply Makeup for Photos: Start With Skin Preparation
It is important that you properly prepare your skin before learning how to apply makeup for photos. The key to great makeup is a smooth, hydrated base.
Begin by washing your face gently to remove excess oil, dirt, and skincare products. Lastly apply a light moisturiser suitable for your skin type. Let your moisturiser soak into your skin for a few minutes before applying makeup.
If your skin tends to be oily quickly, apply a light mattifying primer on the forehead, nose and chin. If your skin is dry, opt for a hydrating primer.
Do not apply too much skincare product right before a photoshoot. Heavy makeup can move or cause unwanted shine in bright lighting.
Choose the Right Foundation for Photography
In terms of learning how to apply makeup for photos, the foundation is one of the most important steps. Your base should provide you with an even complexion and not appear heavy or mask-like.
Instead of choosing a shade that’s far lighter than your natural skin tone, opt for something closer to it. Begin with a thin layer and only build up coverage where it’s needed.
Be careful of the line of your jaw and neck so that there is not a very noticeable difference between your face and the rest of your skin.
For photography, a natural or soft-matte finish is usually the way to go, as too much shine can become more apparent under camera lights.
Avoid Excessive SPF Before a Flash Photoshoot
Some reflective ingredients in some sunscreens and foundations can sometimes give a white cast under flash photography, especially if they have a high amount of them. If you’re going for a professional photoshoot makeup look, do a trial run of the full makeup before the shoot, and take a test photograph in similar lighting.
That’s not to say you should give up on sun protection in your day-to-day life. Rather, see how your own products react with the camera setup you’ll be using.
Use Concealer Strategically
If you’re learning how to apply makeup for photos, remember that you don’t necessarily need to go heavy on the concealer everywhere.
Apply concealer as needed to cover under-eye areas, red areas and blemishes. Carefully blend the edges with a make-up sponge or brush.
A touch of brightening concealer under the eyes can help you look more awake. But too much product can highlight fine lines & texture.
Heavy coverage is less important for photographs than seamless blending.
Add Dimension With Contour and Bronzer
Cameras can flatten your face features, and adding a little dimension can help improve your photos.
Use a matte or softly shimmery bronzer to add warmth to the face. Apply it lightly around the forehead, cheekbones and jawline.
For more definition, apply a neutral colour to contour underneath the cheekbones and down the sides of the nose. Mix it all up well so there are no hard lines.
You want to create natural looking shadows, not obvious stripes.
Apply Blush for a Healthy Look
A blush can do wonders for a photograph. If you don’t have colour, your face can look flat or washed out.
Pick a blush shade that flatters your skin tone and brush over the apples of your cheeks or a little higher toward the cheekbones.
Cream blush can give a fresh look while powder blush can give longer-lasting colour. For extra longevity, you can also apply a tiny bit of powder blush over the cream blush.
When you are learning how to apply makeup for photos or pictures, remember that the lights for the camera can soften the look of colour, so sometimes a little more blush than you normally wear can be good.
Define Your Eyebrows
A well-defined brow frames the face and can make your features pop in photos.
Fill in sparse areas with a brow pencil, powder, or tinted brow product. Draw one solid line but use small strokes to mimic natural hairs.
Soften the look by brushing your brows upward with a spoolie.
Don’t go darker than your natural hair colour on the eyebrows. The goal of good photography makeup is to enhance, not to completely change your features.
Create Eye Makeup That Shows Up on Camera
For photos, eye makeup should be a little more pronounced – subtle, everyday shades can disappear in bright lighting.
Start with a neutral shadow, then deepen the crease with a slightly darker shade. To add dimension, add a lighter shade to the inner corner or center of the eyelid.
Eyeliner can give the eyes a more defined look. For a more natural look, apply a thin line close to the upper lash line.
The other important step is mascara. Applies enough to separate and lengthen lashes without too many clumps.
You can add some false lashes for an evening event or dramatic professional photoshoot makeup look. Select a style that works with the shape of your eye, not your whole face.
Choose a Lip Color That Complements Your Look
Your lips should have enough colour to show up in photographs.
If you have dry skin, gently exfoliate it before applying lipstick, if necessary, and finish with a little lip balm. Remove excess balm and apply your lip colour.
Line your lips with a matching or slightly neutral lip liner and fill in with lipstick.
Pink, rose, nude, berry or red shades can work beautifully for a classic photography look depending on your overall makeup and outfit.
Very shiny products can create distracting reflections, so matte or satin lipsticks usually photograph nicely.
How to Apply Makeup for Photos on Phone
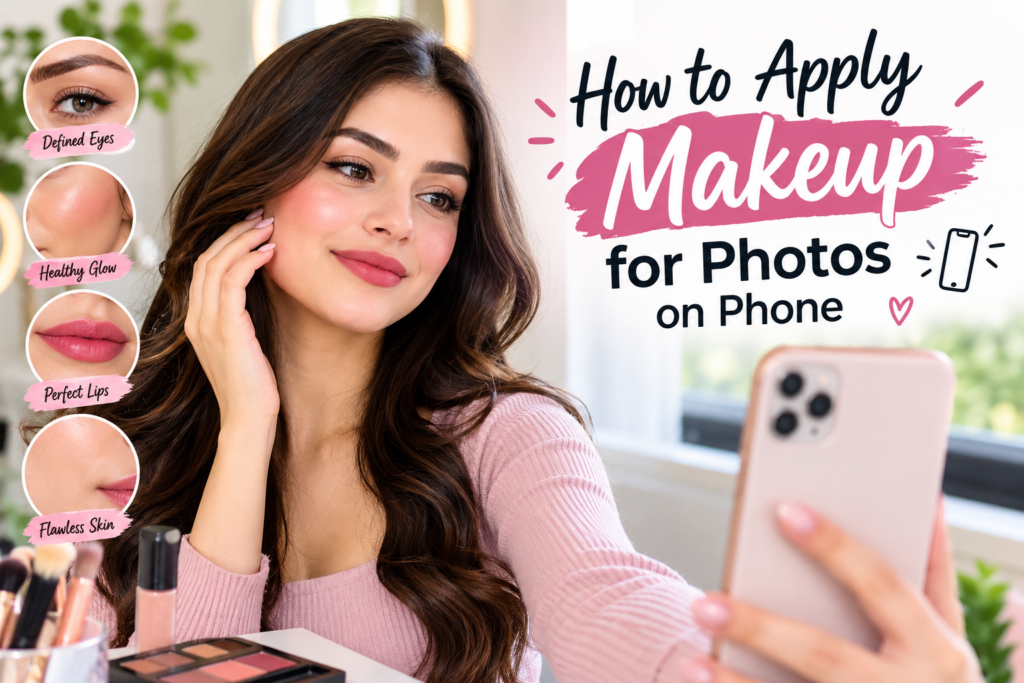
Applying makeup for photos on phone is slightly different than preparing for studio photography. Smartphone cameras are capable of capturing fine detail, but the automatic processing can alter contrast, brightness and skin tones.
Check your face first using the same camera on your phone that you will use to take the final photos. Take a test photo before you finish your makeup.
Look for areas that appear too shiny, too pale or uneven.
Keep the base thin and well-blended. Define your eyebrows, eyes, cheeks and lips a little more than you would on a casual day
Natural light through windows is great for taking photos with your phone. Position yourself facing the light rather than with a bright window directly behind you.
And clean your phone camera lens before snapping pics. Even a small amount of dust or fingerprints can make pictures look blurry or hazy.
Use Highlighter Carefully
“Highlighter gives you a pretty glow, but too much of it can make your skin look oily in pictures.
If desired apply a small amount to tops of your cheekbones, bridge of your nose and cupid’s bow.
don’t go overboard and shimmer the whole face up Targeted application generally leads to a more polished outcome, as strong lighting can make reflective products pop.
Set Your Makeup for Long-Lasting Photos
One of the most helpful tips for how to apply makeup for photos or pictures is to get your makeup right.
Apply a little translucent setting powder to areas that get oily. Focus on the forehead, nose and chin, rather than applying powder all over the face in thick layers.
Finish with a setting spray if your makeup products are compatible with one. Let everything dry, and then touch your face.
If you’re attending an event where you’ll be taking lots of photographs, carry a small powder or blotting paper in your bag for quick touch-ups.
Check Your Makeup Under Different Lighting
Lighting can make all the difference in the way makeup looks. Before your final pictures, check your face in natural daylight, indoor light and the light in which the photos will actually be taken.
This is especially important in the case of professional photoshoot makeup.
Take a few test shots from different angles. Look at the images, not just the makeup in the mirror.
If your foundation is too light, your blush is too pale, or your under-eye concealer is too bright, make small adjustments before the shoot begins.
Common Makeup Mistakes to Avoid in Photos
Knowing how to do makeup for photos isn’t just about knowing what to put on, but also what mistakes to avoid.
Common pitfalls include:
- Using a base colour different from the skin.
- Applying too much powder.
- Not blending the contour around the jaw line.
- Too much highlighting.
- Not enough blush.
- Eyebrows drawn too dark.
- Lipstick that just doesn’t go with the whole thing.
- Taking photos without checking the makeup under the real light.
- Applying several thick layers of product.
- Not looking for makeup along the hairline and neck.
- The best makeup for photography should look balanced in real life and on camera.
Quick Step-by-Step Photography Makeup Routine
If you want a simple routine, you can do the following:
- Wash and moisturise your skin.
- Choose a primer suitable for your skin type.
- Spread foundation evenly in a thin layer.
- Conceal redness and darkness under eyes.
- Lightly dust oily areas.
- Add a bit of bronzer and contour.
- Apply enough blush to put a healthy colour in the cheeks.
- Shape your eyebrows naturally.
- Apply eye shadow, eye liner and mascara.
- Lip Liner and Lipstick.
- Add a dab of highlighter.
- Finish with setting spray.
- Shoot test photos and do any final tweaking.
- This routine helps to learn how to wear makeup for photos without looking like the makeup is too heavy.
Final Thoughts on How to Apply Makeup for Photos
The trick to doing makeup for photos(How to Apply Makeup for Photos) is to find the right balance between natural beauty and camera definition. You don’t need to pile on the makeup to look beautiful in pictures. Instead, aim for an even skin tone, softly defined features, balanced colour and shine under control.
Whether you are taking pictures on your phone, getting ready for a big event, or getting ready for a professional photoshoot, always test your makeup in the lighting you will actually be using.
Little things like blending your foundation, shaping your eyebrows, putting on enough blush and checking your makeup through the camera can make a HUGE difference.
Most importantly, remember that makeup should enhance your natural beauty. With practice and the right techniques, you are able to achieve a polished look that photographs well from all angles.
FAQs About How to Apply Makeup for Photos
1. How much makeup should I put on for pictures?
As a rule, you can go a bit heavier than your everyday makeup, especially around the eyes, brows, cheeks and lips. But don’t use too many layers. Coverage is less important than blending.
2. How do I avoid shiny looking face in photos?
Prime and set any oily areas with a translucent powder lightly. Blotting papers are also great for taking away extra oil without adding more makeup.
3. How to do make-up for photos on the phone?
For mobile photography, opt for a clean base, natural brows, visible blush and defined eyes and lip colour. Take test shots in the same light before the final shots.
4. Why does my makeup appear different in photos?
Cameras and lighting can change colour, texture, shine, and facial dimension. For this reason, it’s helpful to check your makeup through the actual camera before taking final photos.
5. What is the most important step in the make-up for photography?
The most important thing is to get an even, well-blended base. Next, work on giving your brows, eyes, cheeks and lips enough definition so that your features are still visible on camera.