Good makeup for low light photos starts with one honest answer: does your base still match when the light changes? In bright daylight most bases look fine, but in low autumn light — a short afternoon, golden hour, a warm-lit room, or an evening out — the camera shows what the mirror hides: a base one shade off, blush that has vanished, contour that has turned into a shadow, and shine in the wrong place.
This guide is for makeup for low light photos in autumn, and it keeps the method simple. You will learn how to match a base in two lights, where to put blush and contour back so the face does not look flat, how to keep eyes and lips balanced, and how to make the look last through an evening without adding heavy layers. No brand or product names are used, only technique, so it works with whatever you already own.
Makeup for low light photos at a glance
| Step | In low light, do this | Avoid this |
|---|---|---|
| Base | Match on the jawline in daylight, then re-check in warm light | Match only under a bright bathroom bulb |
| Blush | Cream or soft powder on the apples, blended upward | Skip blush, which leaves the face flat |
| Contour | Soft, blended, one shade deeper | A hard line, which reads as a shadow |
| Highlight | A little on the high points only | All-over shimmer, which turns into shine |
| Setting | Press powder only on the T-zone and shiny spots | Powder all over, which looks dry and flat |
| Touch-ups | Blot, then press powder; reapply lips | Add another layer of base mid-evening |
Why low light changes makeup for low light photos
Low light does three things to a face in photos. First, it flattens: without strong daylight, the natural shadows that give a face shape fade, so a face can look washed out even with a full base on. Second, it warms: golden hour and indoor bulbs add yellow and orange to everything, so a cool-toned base can look grey and a warm-toned base can look orange. Third, it moves: light changes fast at sunset and between rooms, so makeup that looked perfect in one place can look different ten minutes later.
That is why the rule for makeup for low light photos is simple: check the base in two lights before you leave, put colour back deliberately, and set only where shine actually appears. Everything in this guide follows that order.
Low light is not one light
| Light | What it does to colour | What to check |
|---|---|---|
| Daylight | Truest reading of base shade | Base matches the neck, no jawline line |
| Golden hour | Adds warmth, softens edges | Base does not turn orange; blush still visible |
| Warm indoor light | Adds yellow, deepens shadows | Contour is blended, not a hard line |
| Evening flash / lamplight | Can pale the face and pick up shine | No heavy powder triangle; shine only on high points is controlled |
Start with the base — match in daylight, then check in warm light
The base is where makeup for low light photos is won or lost. A shade matched only under a bright bathroom bulb is a guess, not a match.
The jawline test in two lights
Test a base on the jawline, not the hand, and look at it in daylight first — that is the truest reading of whether it matches your neck. Then step into warm indoor light or near a lamp and look again. If it suddenly looks orange, the undertone is too warm for you; if it looks grey or ashy, it is too cool or too light. The right shade should look like skin in both lights, not like a mask in either one.
Thin layers photograph better
Apply in thin layers and build only where you need coverage. One thick layer photographs heavier in dim light than two thin ones, and it creases sooner. Let each layer settle for a minute before the next, and blend down into the neck so there is no visible line where the face ends — in low light, that line is exactly what the camera catches.
Blush and contour — put the shape back
When light is low, the face loses its natural shape, so blush and contour have to do that job — gently. Think of it as restoring what the light took away, not sculpting a new face.
Blush placement
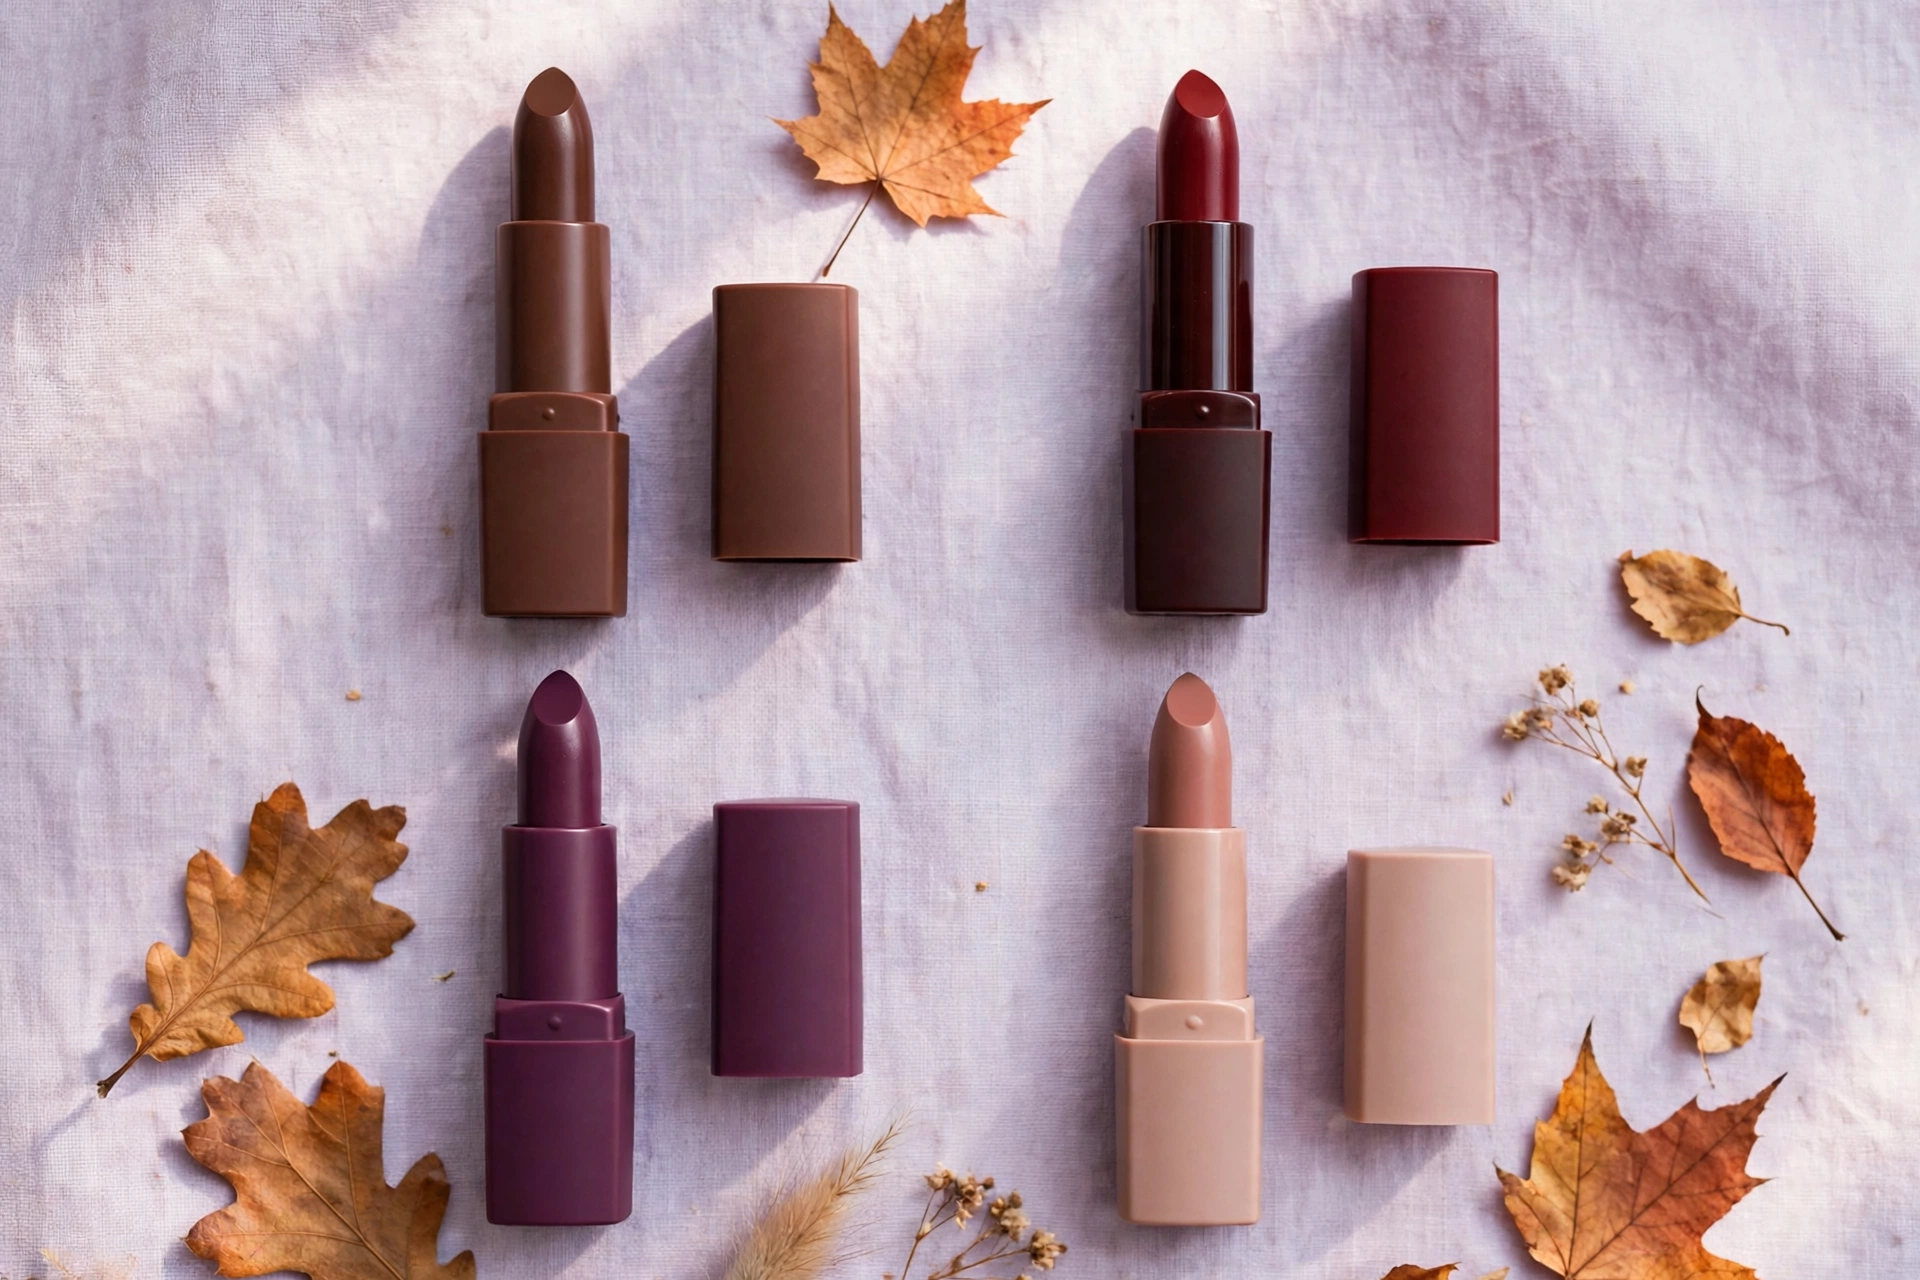
Blush goes on the apples of the cheeks and blends upward toward the temples, never down toward the jaw. In autumn, a muted rose, soft berry or warm peach suits most skin tones better than a bright pink, which can look harsh in warm light. Cream blush is a good low-light choice because it melts into the base and photographs like skin; if you use powder, tap off the excess first so it does not sit on top of the base.
Contour without a visible edge
Contour should be soft and blended until you cannot see where it starts. Place it just under the cheekbone, along the jawline if you want definition, and blend in small circles — then blend once more. In dim light, an unblended contour line does not look like contour at all; it looks like a shadow or a smudge. If you can see a line in the mirror, the camera will see it more clearly, so keep blending until it is a gradual change, not an edge.
The balance matters: blush without contour can look round and flat, contour without blush can look tired. A little of both, both well blended, is what makes a face look alive in a low-light photo.
Eyes and lips in low light
Eyes need definition in low light, but not heaviness. A soft brown or muted plum along the lash line defines the eyes without closing them in, and one coat of mascara on the top lashes is usually enough — very heavy lashes can cast a shadow over the eyes in dim light and make them look smaller in photos. Keep shimmer to the inner corner or the centre of the lid; shimmer all over the lid catches uneven light and can look patchy.
Lips are the easiest place to add colour back for makeup for low light photos. A muted berry, soft plum or warm rose holds up in autumn light and photographs well without competing with the eyes. If the eyes are stronger, keep the lip softer, and if the lip is the statement, keep the eyes simple — one feature carrying the look is the rule that photographs best in low light.
Long-wear tips for a whole evening
Low-light occasions usually last: an evening out, a dinner, photos over several hours. Long wear in autumn is less about piling on product and more about preparation and one good setting step.
Start with clean, moisturised skin and let moisturiser sink in for a few minutes before base — base applied over wet moisturiser slides, and sliding is what ends wear early. Use thin layers, as above, and set only where you actually shine, usually the forehead, nose and chin. Press the powder in rather than sweeping it, which moves the base underneath.
Carry two things for touch-ups and nothing more: a pressed powder or blotting paper for shine, and the lip colour for reapplication. Do not add another layer of base mid-evening; it photographs cakey. Instead, blot first, then press a tiny amount of powder only on the shiny spot. Lips fade first, so reapply those after eating or drinking and the whole look reads as fresh again.
Before you leave, do a sixty-second two-light check. Look in daylight or the brightest natural light you have: does the base match the neck, is there a visible line at the jaw, is the contour blended? Then step into warm indoor light: does the base turn orange or grey, has the blush disappeared, is there shine on the forehead or nose? Fix only what fails the test. Take one test photo in the light you will actually be photographed in, if you can — a phone photo in that light tells you more than ten minutes in front of a bright mirror, because it shows you what the camera sees.
What to avoid with makeup for low light photos
| Mistake | Why it photographs badly | Do this instead |
|---|---|---|
| Base matched only indoors | Turns orange or grey in the other light | Match on the jawline in daylight, re-check in warm light |
| Skipping blush | Face looks flat and washed out | Cream or soft blush on the apples, blended up |
| Hard contour lines | Reads as shadow or dirt in dim light | Blend until there is no visible edge |
| All-over shimmer or heavy powder | Shine in the wrong places, or dry and flat skin | Highlight on high points only, powder only on the T-zone |
| Adding base layers mid-evening | Photographs cakey over the old base | Blot, then press powder only where shiny |
| Very dark eyes plus a very dark lip | Both features compete and the face loses balance | One feature strong, the other soft |
FAQs — makeup for low light photos
Q1 Does makeup for low light photos need to be heavier than daytime makeup?
A: No — it needs to be placed better, not piled on. Thin, well-blended layers photograph more naturally in dim light than one heavy layer, which creases and looks cakey as the evening goes on.
Q2 Why does my base look orange in evening photos?
A: Usually the undertone is too warm, or the shade was matched only under a bright bulb. Match on the jawline in daylight, then re-check in warm light; if it turns orange in the second light, go one step cooler or more neutral.
Q3 Should I use cream or powder blush in low light?
A: Cream is usually the safer low-light choice because it melts into the base and looks like skin in photos. Powder works too, if you tap off the excess and blend well — the key in both cases is blending, not the formula.
Q4 How do I stop shine in photos without looking flat?
A: Set only where you shine — forehead, nose and chin — by pressing powder in, not sweeping it all over. All-over powder removes the natural glow that keeps skin looking alive in dim light.
Q5 What is the one thing to check before a low-light photo?
A: The base in two lights: daylight and warm light. If the base matches the neck in both, and blush and contour are blended with no visible lines, the rest of the look almost always photographs well.
Conclusion
Makeup for low light photos rewards restraint. A base that matches in two lights, blush and contour blended until they have no edges, and a finish set only where shine appears — that is the whole method, and it holds from golden hour through the evening. Test it once in the light you will actually be photographed in, fix only what fails, and leave the rest alone.
If you are still unsure about your undertone before you choose a base, use the Foundation Shade Finder to narrow warm, cool or neutral first, so the shade you test in daylight is the one that will still look like skin in warm light.
This article is general beauty guidance. Shade names vary by brand, so always test a shade in daylight before buying, and consult a professional for any skin concern.