
Table of Contents
Halloween nail art is a fun way to celebrate the spooky season, but once Halloween is over, it is important to remove your manicure carefully. Whether you are wearing traditional Halloween nail polish, gel polish, acrylic nails, or press-on nails, rushing the removal process can leave your natural nails feeling dry, weak, or rough.
Learning how to remove Halloween nail art correctly can help you maintain healthier-looking nails while preparing them for your next manicure. The right removal method depends on the type of nail art you are wearing. Regular nail polish requires a different approach from gel polish, acrylics, and press-on nails.
In this guide, you will learn safe and practical ways to remove Halloween nail polish, take off gel nail art, remove press-on nails, and care for your natural nails afterward.
How to Remove Halloween Nail Polish
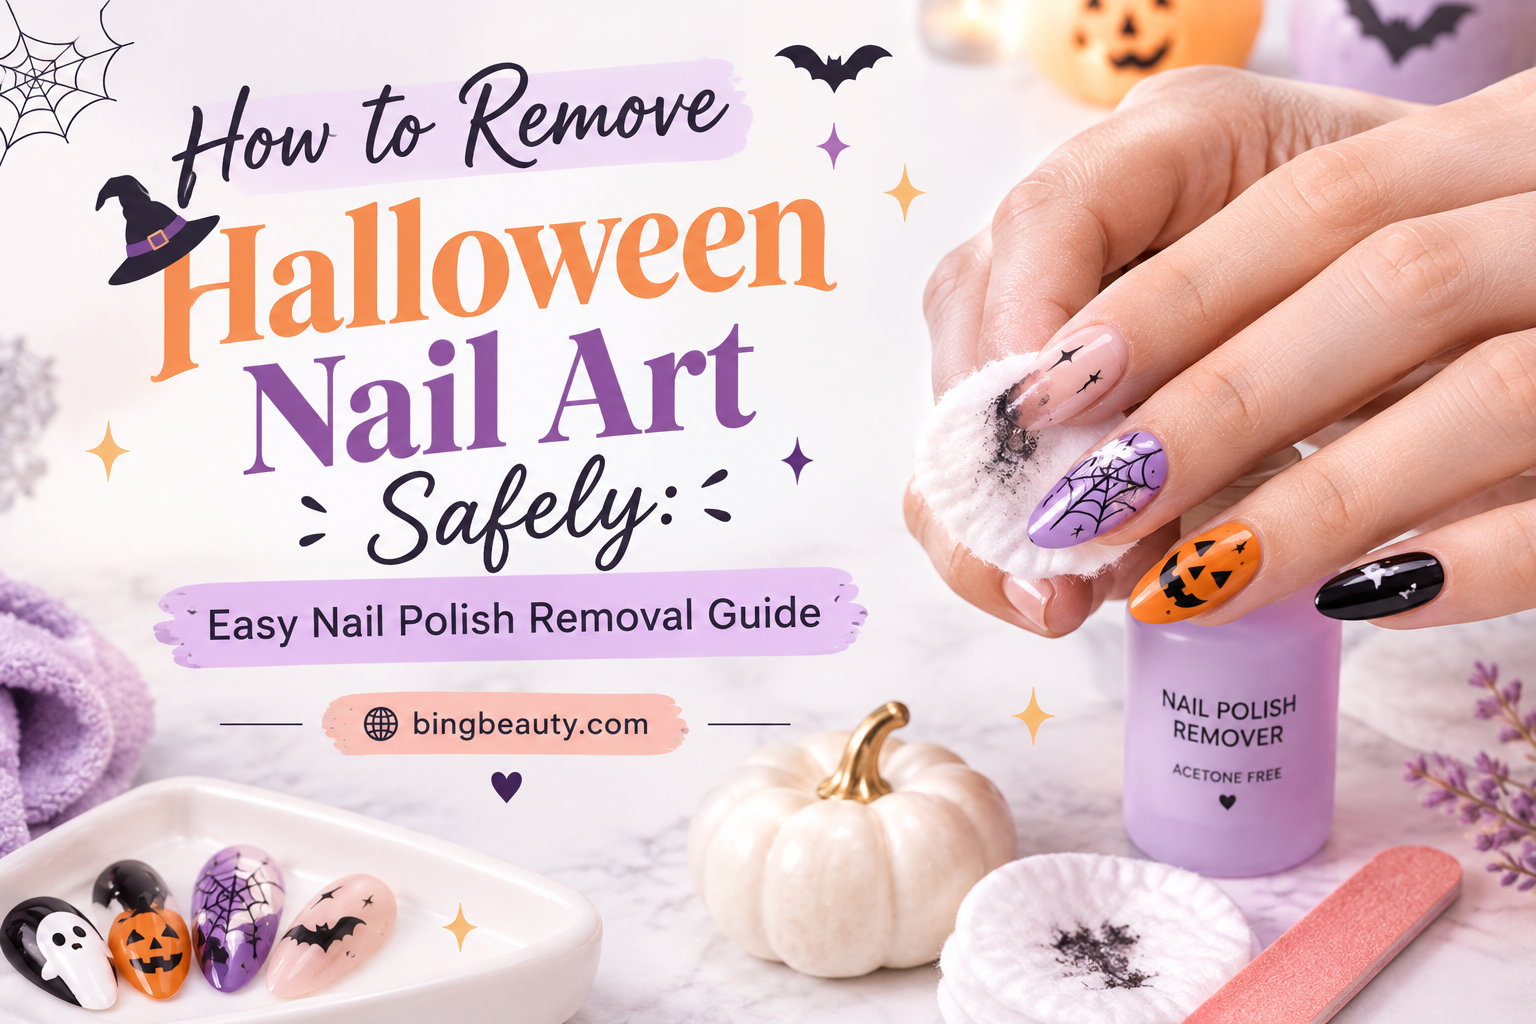
If your Halloween manicure uses regular nail polish, removal is usually straightforward. You will need a suitable nail polish remover, cotton pads or cotton balls, and a clean towel.
Start by soaking a cotton pad with nail polish remover. Place it over the nail and gently wipe from the base toward the tip. Avoid aggressively scrubbing the nail because repeated friction can irritate the surrounding skin.
For glitter Halloween nails or designs containing several layers of polish, hold the remover-soaked cotton on the nail for a few seconds before wiping. This gives the remover more time to loosen the polish.
After removing the color, wash your hands and apply cuticle oil or hand cream.
How to Remove Halloween Gel Nail Art
Gel Halloween nail art requires more patience because gel polish is designed to adhere strongly to the nail. Peeling or pulling gel polish can remove layers of the natural nail plate, so it is better to soften the product before removing it.
What You Need for Gel Nail Polish Removal
Before starting, gather:
- 100% acetone
- Cotton balls or cotton pads
- Aluminum foil or nail clips
- Nail file
- Wooden orange stick or cuticle pusher
- Cuticle oil
- Hand cream
Step 1: File the Shiny Top Layer
Use a nail file to gently remove the glossy surface of the gel manicure. Do not aggressively file down toward the natural nail. The goal is simply to break the top seal so acetone can penetrate the gel more effectively.
Step 2: Protect the Cuticles
Apply a small amount of cuticle oil or petroleum jelly around the skin surrounding each nail. Acetone can be drying, so protecting the surrounding skin can make the removal process more comfortable.
Step 3: Apply Acetone-Soaked Cotton
Saturate a cotton ball or pad with acetone and place it directly over the nail. Make sure the cotton covers the gel surface.
Step 4: Wrap the Nails With Foil
Wrap each fingertip with aluminum foil to keep the acetone-soaked cotton securely against the nail. Nail clips can also be used as an alternative.
Allow the gel to soak for approximately 10–15 minutes. If the gel has not softened sufficiently, give it additional time instead of scraping aggressively.
Step 5: Gently Remove the Softened Gel
Remove one wrap at a time and check the gel. When it has lifted or become soft and flaky, gently push it away using a wooden orange stick or cuticle pusher.
If the gel resists, stop and soak the nail again. Never forcefully scrape or peel stubborn gel because improper removal can damage the nail surface.
How to Remove Halloween Press-On Nails
Halloween press-on nails are convenient because you can enjoy detailed spooky designs without spending hours creating them yourself. However, they should also be removed gently.
The best removal method depends on whether you used adhesive tabs or nail glue.
Removing Press-On Nails With Adhesive Tabs
If you used adhesive tabs, soak your fingertips in warm, soapy water for around 10–15 minutes. The water can help soften the adhesive.
Once the bond begins to loosen, gently lift the press-on from the side using your fingertips or a wooden cuticle stick. If it does not move easily, continue soaking rather than pulling.
Removing Press-On Nails With Nail Glue
Nail glue creates a stronger bond, so removal may require more patience. Do not rip the press-on away from the natural nail.
Apply an appropriate removal method for the adhesive and gently work around the edges after the bond has softened. If there is resistance, stop and allow the adhesive more time to loosen.
The most important rule is simple: never force or pull off press-on nails, as doing so can lift layers from the natural nail.
How to Remove Halloween Acrylic Nail Art
Acrylic Halloween nails should generally be removed carefully rather than peeled or pried away. Because acrylic enhancements are strongly bonded to the natural nail, improper removal can cause unnecessary nail damage.
If you are unfamiliar with acrylic removal, professional removal at a nail salon is a safer option. A nail technician can remove the enhancement without aggressively scraping the natural nail.
Avoid trying to rip acrylic nails away, even if the Halloween design has started to grow out.
How to Remove Glitter and Halloween Nail Art Decorations
Halloween manicures often include glitter, rhinestones, stickers, spiderweb decals, chrome powder, and other decorations.
For regular polish containing glitter, allow nail polish remover to sit on the nail for several seconds before gently wiping. For decorations attached with stronger adhesive, avoid pulling them away forcefully.
If the decoration is difficult to remove, soften the surrounding product first. Patience is especially important when working with glitter because aggressive rubbing can irritate the nail and surrounding skin.
Nail Care After Removing Halloween Nail Art
After Halloween nail polish removal, your nails may feel dry, particularly if you have used acetone or other strong removers.
Wash your hands gently and dry them thoroughly. Then apply cuticle oil to the nail plate and surrounding cuticles. Follow with a moisturizing hand cream.
If your nails feel rough, avoid immediately applying another heavy manicure. Giving your nails a short break can make your nail-care routine more comfortable.
Simple Natural Nail Care Routine
After removing Halloween nail art:
- Wash your hands.
- Dry your nails completely.
- Apply cuticle oil.
- Massage the oil around each nail.
- Apply a moisturizing hand cream.
- Keep nails neatly filed.
- Avoid picking or peeling leftover product.
- Give damaged or irritated nails time to recover.
Acetone can temporarily dry the nails and surrounding skin, making moisturizing and cuticle care useful after gel removal.
Common Halloween Nail Removal Mistakes
Avoid these mistakes when taking off your seasonal manicure:
Peeling Off Gel Polish
Never peel gel polish simply because it begins lifting. Peeling can take natural nail layers with it.
Scraping Too Hard
If gel does not come off easily, soak it again instead of applying excessive pressure.
Over-Filing Natural Nails
File only the product and avoid aggressively filing the natural nail plate.
Pulling Off Press-On Nails
Press-ons should loosen before removal. If they resist, soak them longer rather than forcing them.
Skipping Nail Aftercare
Removing your manicure is only part of the process. Cuticle oil and hand cream can help restore moisture after removal.
When Should You Remove Halloween Nail Art?
You can remove Halloween nail art whenever you are ready for a new manicure, but it is especially important to remove products carefully when they begin lifting or growing out.
If you notice significant nail discomfort, redness, swelling, or unusual changes around the nail, stop using the product and consider seeking professional advice.
FAQs About Removing Halloween Nail Art
What is the easiest way to remove Halloween nail polish?
Regular Halloween nail polish can generally be removed using nail polish remover and cotton pads. Hold the remover against the nail briefly before gently wiping away the color.
How do you remove Halloween gel nails at home?
Gently file the shiny top layer, apply acetone-soaked cotton, wrap the nails with foil, and allow the gel to soften for around 10–15 minutes. Gently push away softened product and repeat soaking if necessary.
Can I peel off Halloween gel nail art?
It is best not to peel gel nail polish because doing so can remove layers from the natural nail plate and contribute to nail damage.
How do you remove Halloween press-on nails?
For adhesive-tab press-ons, warm soapy water can help loosen the adhesive. Gently lift the nail only after it has loosened. Never force or rip press-ons away.
Does acetone remove Halloween gel nail polish?
Yes. Acetone is commonly used to break down soak-off gel products. Filing away the shiny top layer first can help the acetone penetrate the gel more effectively.
How do I care for my nails after removing Halloween nail art?
Apply cuticle oil and hand cream after removal, keep your nails neatly filed, and avoid picking at remaining product. Moisturizing is particularly helpful after acetone-based gel removal.
Final Thoughts
Knowing how to remove Halloween nail art is just as important as choosing the perfect spooky manicure. Whether you are removing regular Halloween nail polish, gel nail art, acrylic enhancements, glitter, or press-on nails, patience is the key to protecting your natural nails.
Avoid peeling, ripping, or aggressively scraping your manicure. Use the appropriate removal technique for the type of nail product you have applied, and finish with cuticle oil and moisturizing hand care.