
Table of Contents
Creating your own DIY Halloween Nails is a fun and creative way to celebrate the spooky season while adding a festive touch to your beauty look. You do not need professional nail-art skills to create attractive Halloween designs at home. With a few basic supplies, simple techniques, and a little patience, you can create everything from cute pumpkins and spooky ghosts to creepy spider webs and classic Halloween patterns.
Whether you are preparing for a Halloween party, getting ready for a seasonal event, or simply want to experiment with nail art, homemade Halloween nail designs are an affordable and enjoyable option. This guide explains how to prepare your nails, choose a design, apply your colors, and create eye-catching details at home.
Why Try DIY Halloween Nails?
One of the biggest advantages of creating Halloween nail art at home is the freedom to customize your design. You can choose colors, patterns, and finishes that match your outfit and personal style.
DIY manicures can also be more affordable than visiting a nail salon. Instead of paying for a professional design, you can use products you already have and add a few inexpensive nail-art tools.
From simple accent nails to detailed spooky artwork, DIY Halloween Nails give you the opportunity to experiment and create something unique.
Essential Supplies for Halloween Nail Art
Before starting your manicure, gather everything you need. Having your supplies ready will make the process easier and help you avoid interruptions while working on your designs.
Basic Nail Supplies
You will generally need:
- Base coat
- Top coat
- Black nail polish
- White nail polish
- Orange nail polish
- Purple or green nail polish
- Red polish for spooky effects
- Nail-art brushes
- Dotting tools
- Nail stickers or stencils
- Cotton swabs or cotton balls
- Nail polish remover
- Small dishes for mixing colors
You do not need every color listed above. Choose shades based on the design you want to create.
How to Create DIY Halloween Nails Step by Step
Once your supplies are ready, you can begin creating your manicure. Following each step carefully can help your nail art look cleaner and last longer.
Step 1: Prepare Your Nails
Start by removing any old nail polish and cleaning your nails thoroughly. Shape your nails using a nail file and gently push back your cuticles if needed.
Apply a thin layer of base coat. This helps create a smooth surface and can protect your nails from staining caused by darker polish.
Allow the base coat to dry before continuing.
Step 2: Choose Your Halloween Design
Decide what type of Halloween manicure you want before applying your polish. Beginners may want to start with simple designs such as pumpkins, ghosts, bats, or spider webs.
If you prefer something more creative, you can combine several Halloween symbols across different nails.
Popular themes include:
- Pumpkin nail art
- Ghost designs
- Spider webs
- Bats and moons
- Frankenstein-inspired nails
- Skull patterns
- Bloody nail effects
- Black-and-orange designs
- Halloween French tips
For additional inspiration, explore our Halloween Nails: Top Trends guide.
Step 3: Apply Your Base Colors
Choose a base color that complements your design. Black works well for spooky artwork, while orange creates a traditional Halloween appearance. Nude, white, purple, and dark green can also provide attractive backgrounds.
Apply one thin coat and allow it to dry. Add a second coat if you need stronger coverage.
Avoid applying thick layers because they can take longer to dry and may smudge when you begin adding details.
Step 4: Add Your Halloween Details
Once the base color is completely dry, start adding your artwork using a thin brush or dotting tool.
For example, create a simple ghost by painting a small white shape and adding tiny black eyes. For pumpkins, use orange polish for the body and green polish for the stem.
If you are creating spider webs, use a thin brush to draw several intersecting lines. Bats can be created using simple black shapes with small pointed wings.
Take your time during this stage. Small, controlled movements can make a significant difference in the final appearance.
Step 5: Seal Your Nail Art
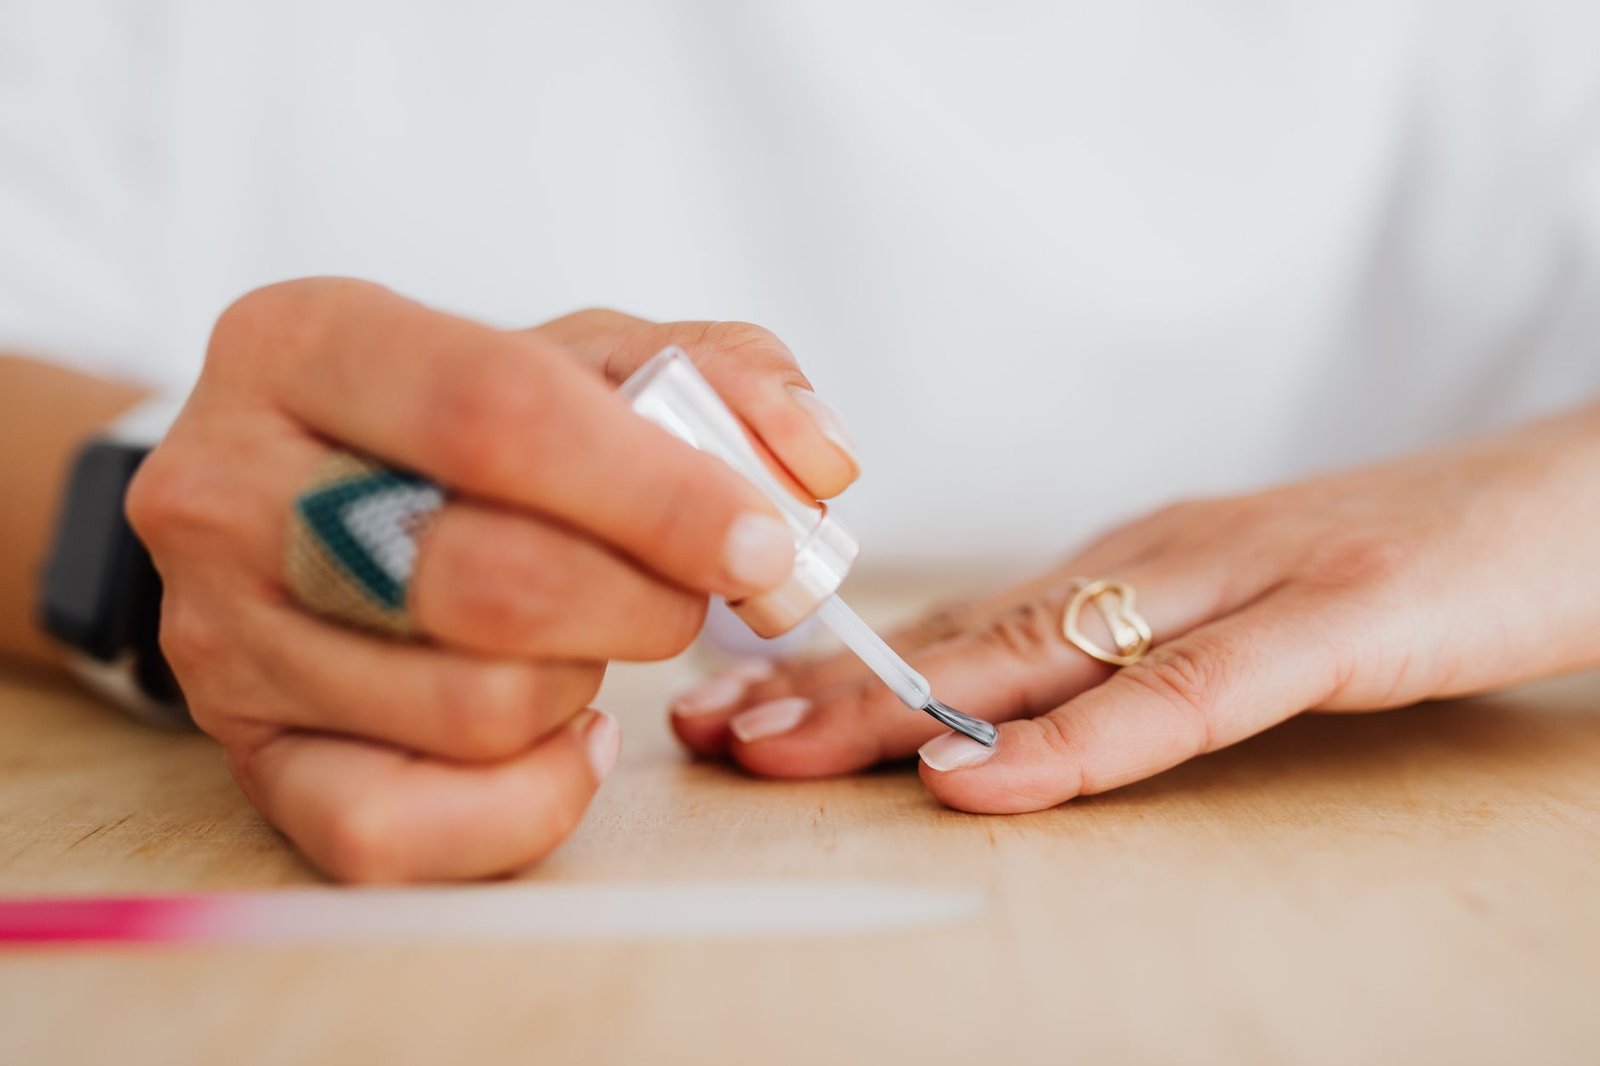
After completing your design, allow all the artwork to dry thoroughly. Apply a clear top coat over each nail to protect the design and create a smooth finish.
A glossy top coat can make bright colors appear more vibrant, while a matte finish can give dark Halloween designs a modern appearance.
This final step is especially important because it helps protect your DIY Halloween Nails from chips and everyday wear.
Easy DIY Halloween Nail Ideas
If you are looking for simple designs to try at home, start with one of these beginner-friendly ideas.
Spooky Spider Web Nails
Paint your nails black or dark purple and use white or silver polish to create thin spider-web lines. You can add a small spider to one accent nail for an extra spooky detail.
Cute Pumpkin Nails
Use orange polish to create small pumpkin shapes over a nude, white, or dark background. Add green stems and tiny leaves to complete the design.
Ghost Accent Nails
Paint most of your nails in a neutral or dark shade and use one or two nails for small white ghost figures. This creates a simple seasonal manicure without making the design too busy.
Frankenstein Nails
Use green as the base color and add black hair, small eyes, and simple facial details. This playful design is particularly suitable for anyone who enjoys colorful Halloween artwork.
Bloody Halloween Nails
For a dramatic appearance, use a light or nude base and add red polish near the tips to create a dripping effect. Keep the design simple for a cleaner finish.
Tips for Better DIY Halloween Nail Art
Creating nail art at home becomes easier with practice. Keep these tips in mind when working on your design.
Practice Before Painting
If you are trying a complicated pattern, practice it on paper or a nail-art practice sheet first. This can help you understand how much polish to use.
Keep Your Brush Thin
A thin nail-art brush gives you better control when creating spider webs, facial details, lines, and small Halloween symbols.
Work Slowly
Do not rush between steps. Allow each layer to dry before adding another color or detail. This can help prevent smudging.
Use Accent Nails
You do not have to decorate every nail. Creating detailed artwork on one or two accent nails and keeping the remaining nails simple can make your manicure look more polished.
Fix Mistakes Carefully
Mistakes are normal when creating nail art. Use a small brush or cotton swab dipped in nail polish remover to clean unwanted marks around the design.
How to Make Your Halloween Nails Last Longer
Good nail preparation and aftercare can help your manicure remain attractive throughout the Halloween season.
Always start with clean nails and a base coat. Apply polish in thin layers and give each layer enough time to dry. Once your artwork is finished, use a quality top coat to protect the design.
Avoid using your nails to open packages or scratch surfaces, as these activities can cause chips. Applying cuticle oil regularly can also help keep the skin around your nails moisturized.
DIY Halloween Nails for Different Styles
Your Halloween manicure does not have to follow a single style. You can adapt your design according to your personality and outfit.
For a cute look, choose pumpkins, tiny ghosts, colorful bats, and playful patterns. For a gothic look, use black, burgundy, dark purple, and silver. If you prefer an elegant look, try nude nails with small black details or metallic accents.
For more sophisticated inspiration, you can also explore our guide to Halloween Nail Designs for Adults.
Frequently Asked Questions
What are the easiest DIY Halloween nails for beginners?
Simple pumpkins, ghosts, spider webs, black French tips, and accent nails are excellent choices for beginners because they require only a few basic shapes and colors.
What colors are best for Halloween nail art?
Black, orange, white, purple, green, burgundy, and red are popular Halloween shades. Nude and metallic colors can also be used for more elegant designs.
How can I create Halloween nail art without professional tools?
You can use household alternatives such as toothpicks for small details and cotton swabs for cleanup. However, inexpensive nail-art brushes and dotting tools can provide better control.
How long do DIY Halloween Nails last?
With proper preparation, thin polish layers, and a good top coat, a home manicure can last several days. Longevity depends on the products you use and how much daily wear your nails experience.
Final Thoughts
Creating your own DIY Halloween Nails is an enjoyable way to celebrate Halloween and experiment with your creativity. You can start with simple designs such as ghosts, pumpkins, bats, or spider webs and gradually try more detailed artwork as your skills improve.
The key is to prepare your nails properly, work with thin layers, allow each design to dry, and finish with a protective top coat. Whether you want cute, spooky, creepy, or elegant nail art, there are countless possibilities to explore at home.