Table of Contents
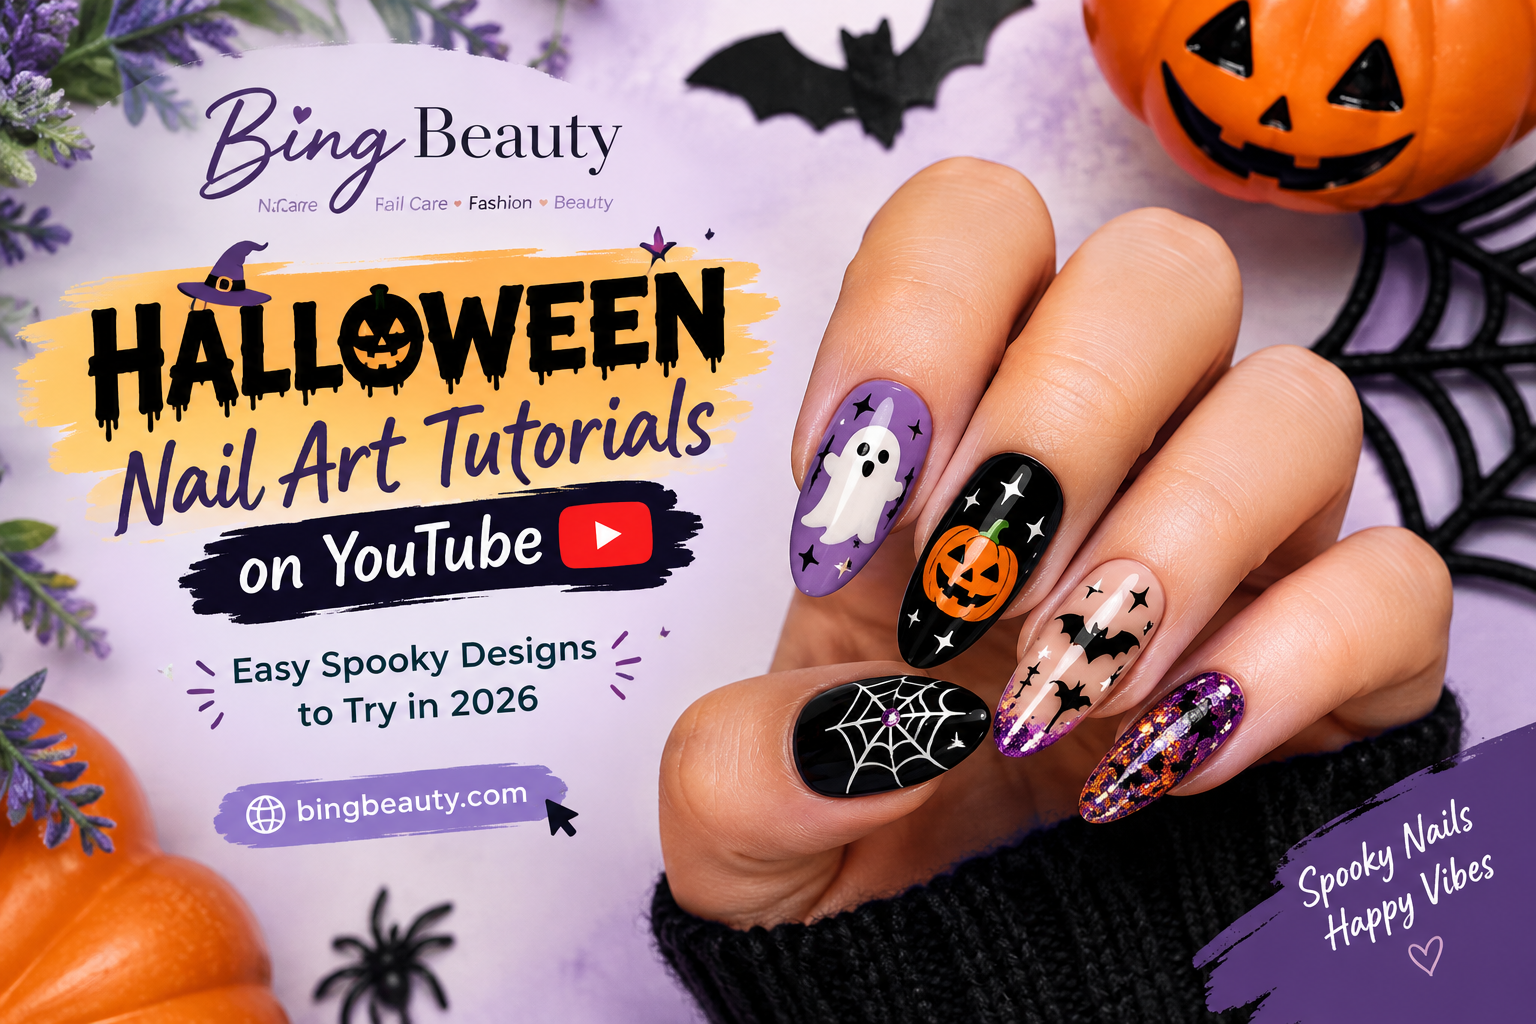
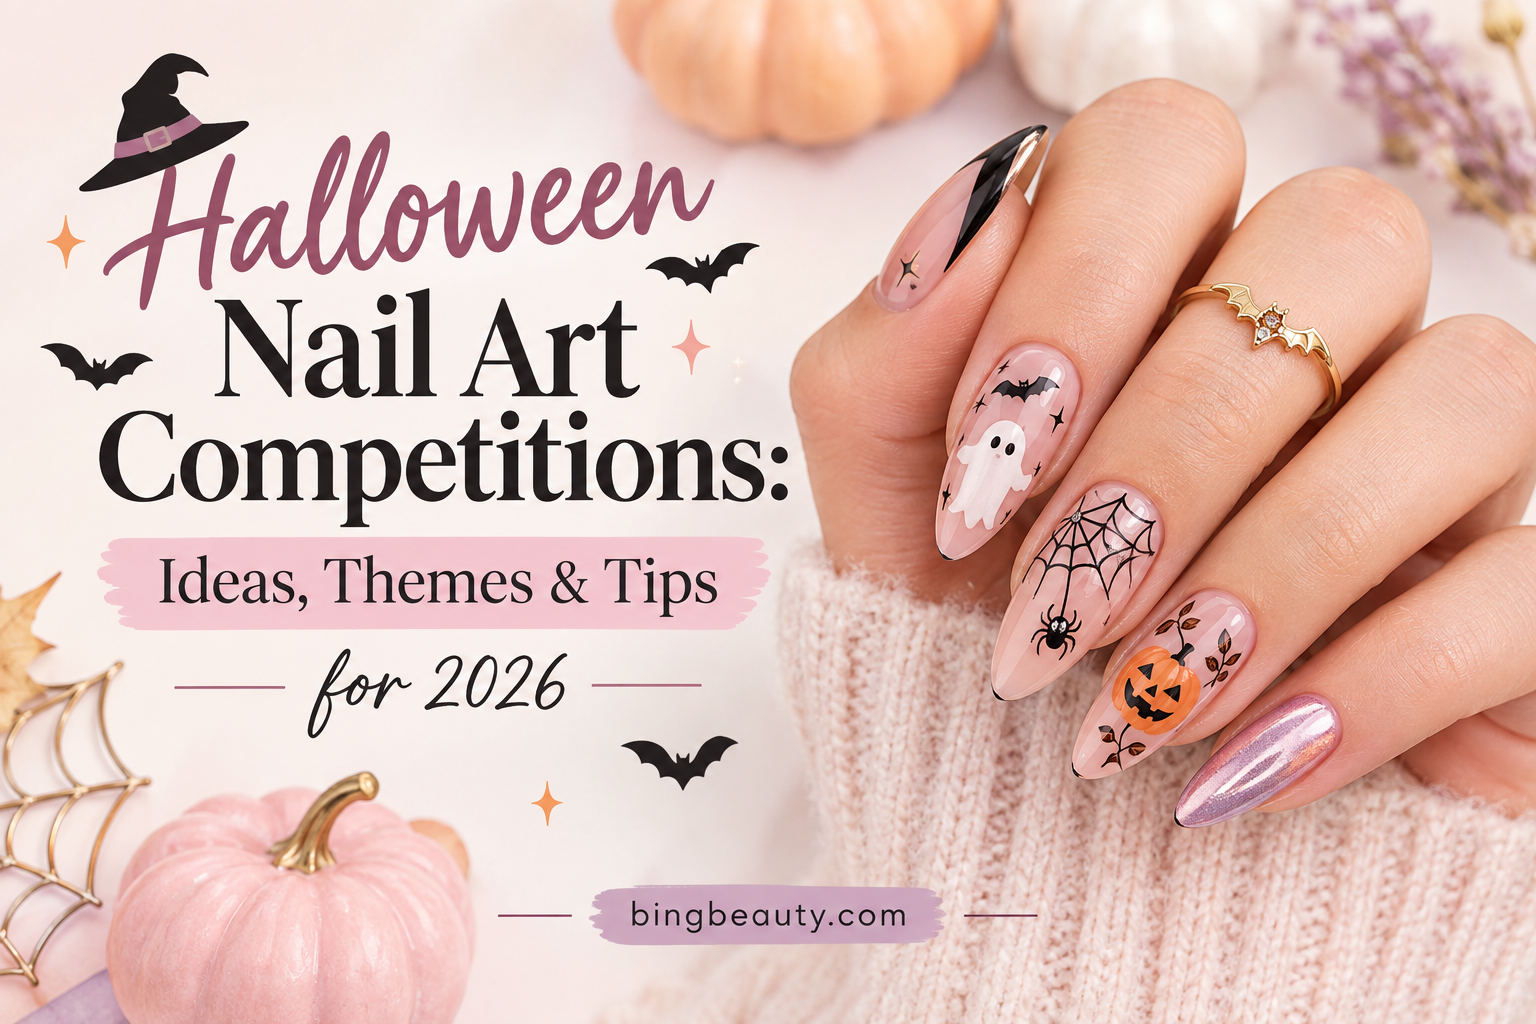
Halloween nail art for beginners is a fun and creative way to celebrate the spooky season without needing professional nail-art skills. You can create impressive Halloween-inspired nails with a few basic colors, simple tools, and easy techniques. From cute ghosts and pumpkins to candy corn and spooky dots, there are plenty of designs that are simple enough to recreate at home.
Whether you are preparing for a Halloween party, a costume event, or simply want to add a festive touch to your everyday look, Halloween nail art for beginners makes it easy to experiment with different colors and designs. With a little patience and practice, even first-time nail artists can create fun and stylish Halloween manicures.
Essential Supplies for Halloween Nail Art
Before starting your manicure, gather the basic tools and products you will need. Having everything ready can make Halloween nail art for beginners much easier and help you achieve cleaner results.
Nail Polish in Halloween Colors
Choose a few versatile shades, including:
- Black for spooky backgrounds and bats
- Orange for pumpkins and jack-o’-lanterns
- White for ghosts and spider webs
- Purple for witchy and mysterious designs
- Green for monsters, slime, and witch-inspired artwork
- Yellow for candy corn and glowing details
You do not need a huge collection to get started. Two or three complementary shades are enough for many simple Halloween designs.
Nail Art Brushes and Dotting Tools
Fine nail art brushes can help you create lines, faces, spider webs, and other small details. Dotting tools are particularly useful for beginners because they make it easy to create eyes, dots, and simple patterns.
If you do not have professional nail art tools, you can start with basic household alternatives, provided they are clean and used carefully.
Base Coat and Top Coat
A base coat creates a smooth foundation and helps protect your natural nails from staining. After completing your design, use a top coat to seal the artwork and improve its durability.
These two products are especially useful for Halloween nail art for beginners because they can make your manicure look cleaner and last longer.
Nail Tape and Clean-Up Supplies
Striping tape can help you create straight lines and simple geometric patterns. Keep cotton swabs, cotton pads, and nail polish remover nearby so you can quickly clean up mistakes around your cuticles.
Easy Halloween Nail Art for Beginners
Once your supplies are ready, you can start experimenting with simple designs. The following ideas require basic techniques and are ideal if you are creating Halloween nail art for beginners for the first time.
Spooky Dot Nails
Spooky dots are one of the easiest Halloween nail designs to create. Apply a base color such as black, purple, or orange and allow it to dry.
Next, use a dotting tool to create small white, orange, or green dots. You can turn the dots into tiny eyes, pumpkins, or abstract spooky patterns.
This technique is simple, quick, and requires very little artistic experience.
Easy Candy Corn Nails
Candy corn is a classic Halloween treat and makes a fun nail design. Start with a white base coat and allow it to dry completely.
Use orange and yellow polish to create sections across the nail. You can use striping tape to separate the colors and create cleaner lines.
Finish with a top coat once everything has dried. Candy corn is an excellent choice for Halloween nail art for beginners because it uses simple shapes and familiar colors.
Cute Ghost Nail Art
Ghosts are another beginner-friendly Halloween design. Start with a dark base such as black, purple, or dark blue.
Using white polish, create small ghost shapes on one or more accent nails. Once the white polish has dried, use a fine brush or dotting tool to add two small black eyes and a tiny mouth.
You can make the ghosts cute, spooky, or playful depending on their expressions.
Simple Pumpkin Nails
Pumpkin nail art is perfect for beginners because the basic shape is easy to create. Apply an orange base or paint a small orange pumpkin onto a contrasting background.
Use black polish to add a simple jack-o’-lantern face and green polish for a small stem. If detailed faces are difficult, try creating simple triangular eyes and a curved smile.
Beginner Spider Web Nails
Spider webs may look complicated, but you can simplify them into a few lines. Apply black, purple, or orange polish as your background.
Once it dries, use a fine white brush to create three or four lines extending from one point. Add curved lines between them to complete the web.
You can place the web on just one accent nail if you want an easier design.
More Simple Halloween Nail Designs
If you want to expand your skills, there are many other designs you can try. Halloween nail art for beginners does not have to be complicated to look impressive.
Black Cat Nails
Paint your nails black and use a small amount of white polish to create eyes. A tiny pink or red dot can be added to create a nose.
Easy Bat Nails
Use black polish to create small bat silhouettes over an orange, purple, or white background. Keep the shapes simple rather than trying to paint detailed wings.
Halloween French Tips
Give the traditional French manicure a seasonal update by replacing white tips with black, orange, purple, or green.
You can also decorate the tips with tiny pumpkins, bats, or spider webs.
Halloween Glitter Nails
Glitter is a simple way to make your manicure look more elaborate. Apply glitter over black, purple, orange, or red polish.
For an easy design, use glitter on one or two accent nails while keeping the remaining nails a solid color.
Step-by-Step Halloween Nail Art Routine
A simple routine can make Halloween nail art for beginners much easier. Start by cleaning your nails and removing any old polish. Shape your nails using a file and gently prepare the nail surface. Apply a thin layer of base coat and allow it to dry before adding your chosen background color. Once the base color is completely dry, create your Halloween design using brushes, dotting tools, tape, or stickers. Work slowly and allow each layer to dry before applying another color. When your design is finished, carefully clean any polish around the edges and apply a top coat. This final layer helps protect your artwork and gives the manicure a smoother, more polished appearance.
Tips for Perfect Halloween Nail Art
Creating Halloween nail art for beginners becomes much easier when you focus on simple techniques and avoid rushing through the process.
Start With Simple Designs
Do not begin with extremely detailed artwork. Start with dots, stripes, ghosts, pumpkins, or simple French tips. Once you become more comfortable, you can move on to more complicated designs.
Let Each Layer Dry
One of the biggest mistakes beginners make is applying another color before the previous layer has dried. This can cause smudging and make your design look uneven.
Practice on Nail Tips
If you are nervous about painting directly on your nails, practice your designs on artificial nail tips or a nail art wheel first.
Use a Clean-Up Brush
A small clean-up brush dipped in nail polish remover can help remove unwanted polish around your cuticles and create sharper edges.
Don’t Aim for Perfection
The most important part of Halloween nail art for beginners is enjoying the creative process. Small imperfections can even make handmade Halloween designs look more fun and unique.
How to Remove Halloween Nail Art Safely
Once Halloween is over, you can remove your manicure without unnecessarily damaging your nails. Soak a cotton pad in nail polish remover and hold it against the nail for several seconds before gently wiping away the polish.
If you are wearing glitter polish, give the remover a little more time to dissolve the product rather than aggressively rubbing the nail.
After removing your Halloween nail art for beginners design, wash your hands and apply cuticle oil or hand moisturizer to keep your nails and surrounding skin comfortable.
Halloween Nail Art for Beginners: Common Mistakes to Avoid
Beginners can improve their results by avoiding a few common mistakes. Applying overly thick layers of polish can increase drying time and lead to smudging. Trying to create complicated designs without practicing can also make the process frustrating. Another common mistake is skipping the base coat or top coat, which can affect the appearance and durability of your manicure.
When practicing Halloween nail art for beginners, focus on thin layers, simple shapes, clean tools, and adequate drying time. These small improvements can make a noticeable difference in the final result.
Choose Your Favorite Halloween Nail Design
Halloween nail art for beginners is an easy way to experiment with seasonal creativity, even if you have never tried nail art before. With a few Halloween-inspired colors, basic tools, and simple techniques, you can create ghosts, pumpkins, bats, spider webs, candy corn, black cats, and glittery Halloween designs at home.
Start with one easy design and gradually experiment with different colors and patterns as your confidence grows. Whether you prefer cute, spooky, colorful, or elegant nails, there is a beginner-friendly Halloween design for everyone.