Table of Contents
If you are looking for creative Halloween nail art tutorials on YouTube, you will find countless ideas ranging from simple beginner designs to detailed professional nail art. YouTube has become a great place to learn Halloween nail designs because you can watch each step, pause the video, and recreate the look at your own pace.
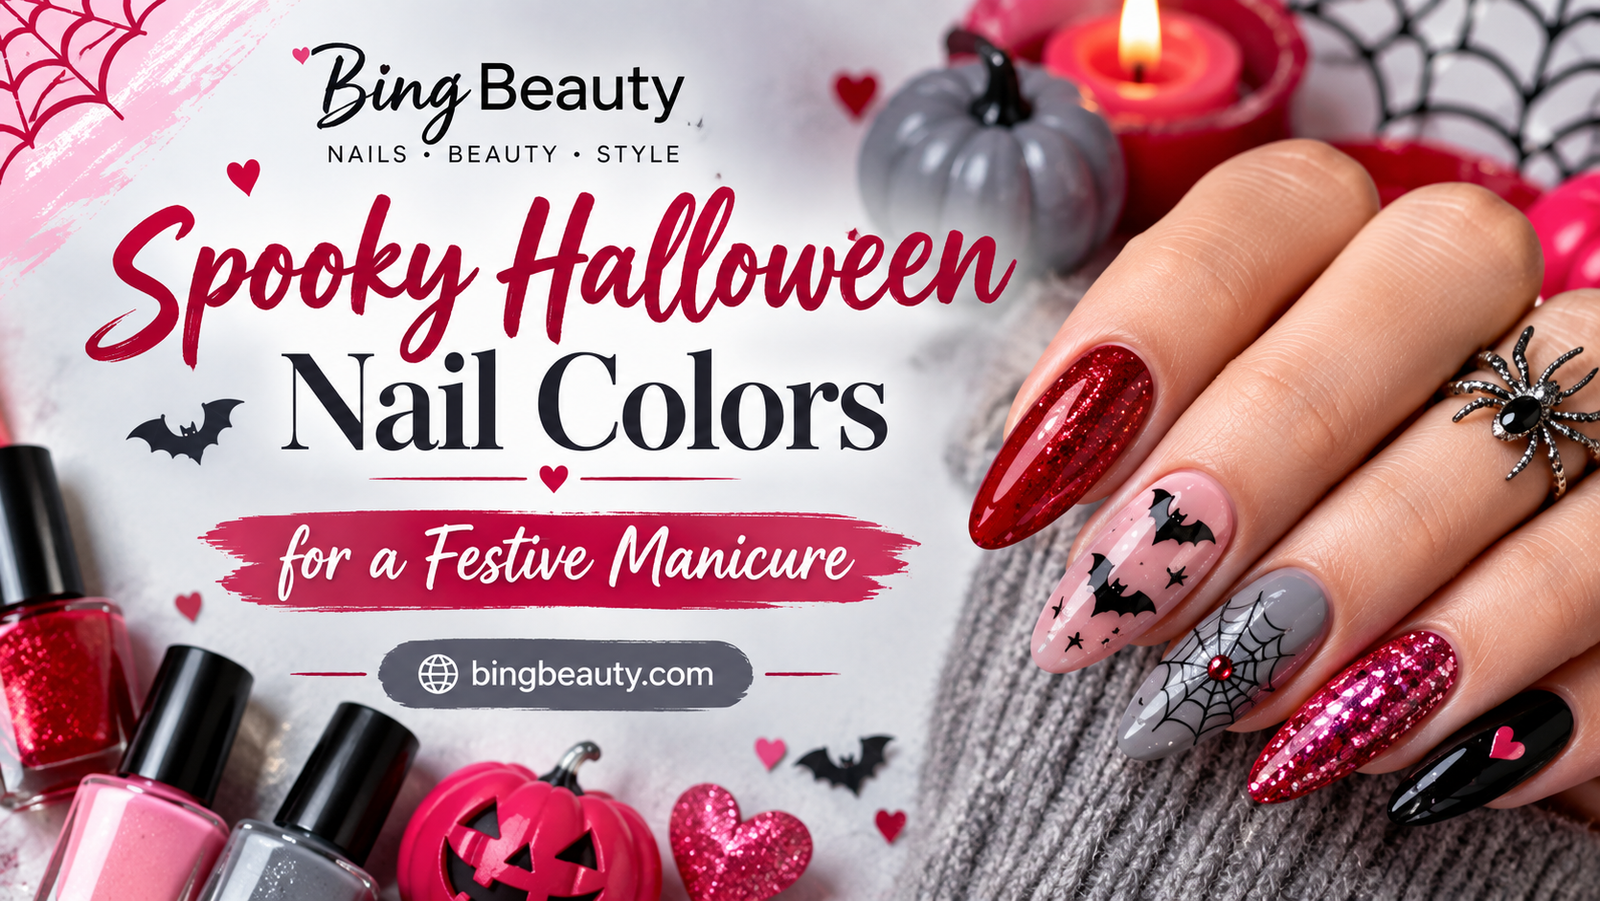
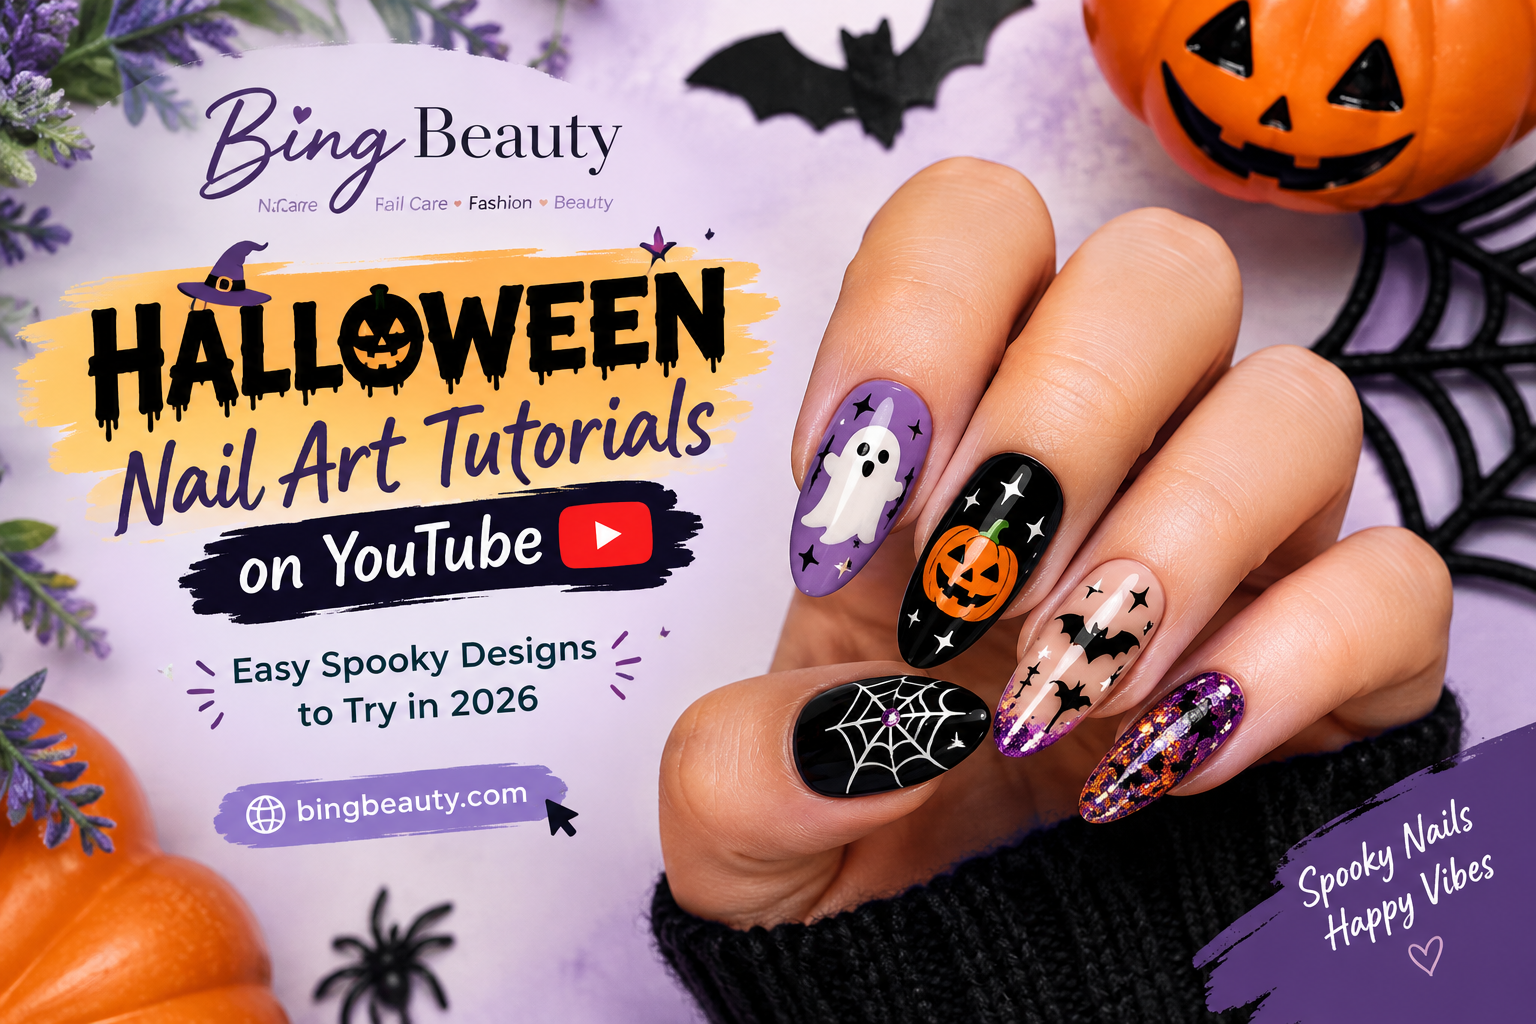
From cute ghost nails and pumpkin nail art to spider webs, bats, black French tips, and spooky Halloween acrylic nails, there is a design for almost every style. Current Halloween nail inspiration also includes combinations of traditional spooky colors with modern finishes such as chrome, glitter, matte effects, and negative space.
Whether you are preparing for a Halloween party or simply want festive nails for October, these Halloween nail art tutorials on YouTube can help you create a stylish manicure at home.
Why Watch Halloween Nail Art Tutorials on YouTube?
One of the biggest advantages of Halloween nail art tutorials on YouTube is that you can actually see how a design is created. Written instructions can explain the process, but a video shows brush movement, polish application, layering, and small details much more clearly.
You can also find tutorials designed for different skill levels. Beginners can start with simple dots, lines, ghosts, pumpkins, and bats, while experienced nail artists can explore detailed characters, 3D designs, acrylic nails, and advanced gel techniques.
Many tutorials also show the exact tools and products being used, making it easier to prepare before starting your manicure.
Easy Halloween Nail Art for Beginners
If you are new to nail art, don’t feel pressured to create complicated designs. Some of the most attractive easy Halloween nail art designs use only a few colors and simple shapes.
Start with a nude, pink, white, orange, purple, or black base. You can then add small Halloween details using a fine nail-art brush or dotting tool.
For example, two black dots and a small curved line can turn a simple white shape into a cute ghost. Similarly, a few curved lines can create a spider web. These techniques make DIY Halloween nails accessible even if you have limited nail-art experience.
Ghost Nails Tutorial
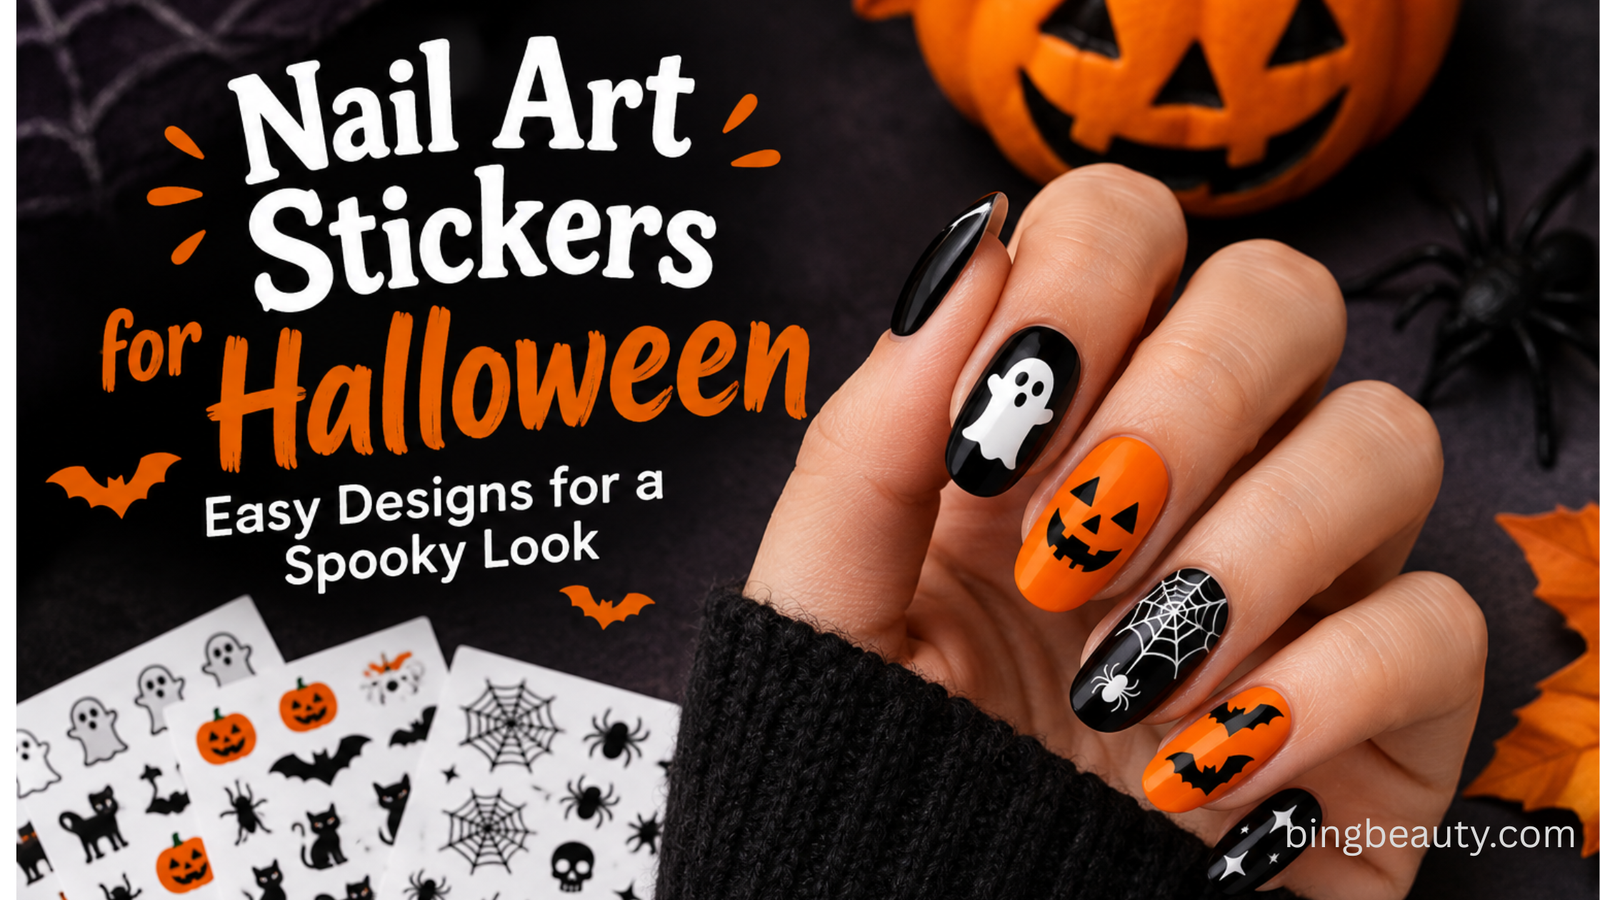
Ghost nails are one of the easiest Halloween nail designs to recreate at home.
Begin with a light or dark base color and allow it to dry. Using white polish, create a small ghost shape. You do not need perfect edges because slightly irregular shapes can make the ghosts look more playful.
Once the white polish is dry, add two tiny black dots for the eyes. A small black oval or curved mouth can complete the expression.
You can place one ghost on an accent nail or create several tiny ghosts across your manicure. Ghost designs are also suitable for short nails because the artwork does not require a large surface.
Spider Web Nail Art Tutorial
Spider web nails are another popular search idea for Halloween nail art tutorials on YouTube.
For this design, apply a black, nude, purple, or orange base. Use a thin nail-art brush to draw three or four lines starting from one corner of the nail. Then connect those lines with small curved strokes.
The key is to keep the lines thin. You do not need perfect symmetry for a spider web to look effective.
For beginners, try creating a spider web on only one or two accent nails instead of every finger. This gives you a stylish Halloween manicure without making the design feel too busy. Spiderweb tips are also frequently combined with French manicures for a more modern look.
Pumpkin Nail Art and Jack-o’-Lantern Nails
Pumpkin nails are perfect if you prefer classic Halloween colors.
Start with orange polish and allow the base to dry completely. Using black polish, add two small triangle eyes and a simple mouth to create a jack-o’-lantern face. Finish with a tiny green or black stem if you want additional detail.
For an easier version, paint most nails orange and use only the ring finger for a detailed pumpkin. This creates a simple Halloween nail art look that works well for everyday October outfits.
Pumpkin designs are also featured in current YouTube tutorials alongside bats and spider webs, making them easy to combine into a complete Halloween manicure.
Cute Bat Nail Art
Bat nail art is another beginner-friendly option. Use a black polish and a fine brush to create a small oval body with simple wings.
You can place tiny bats against a nude or light pink background or create a dramatic night-sky effect using dark blue, purple, or black polish.
For a cute manicure, combine bats with tiny stars. For a more dramatic look, use black chrome or glitter as the background.
YouTube tutorials often demonstrate bat designs together with pumpkins and other Halloween motifs, making them useful when you want several coordinated designs.
Halloween French Tips
If you prefer elegant nails instead of a full spooky manicure, try Halloween French tips.
Replace the traditional white French tip with orange, black, purple, or deep red. You can then add a tiny ghost, bat, spider, or web to one or two nails.
Another option is a black French tip with a thin spiderweb detail. This style combines a classic manicure with seasonal Halloween nail art and can work particularly well for people who want something subtle.
Halloween Acrylic Nails and Gel Nail Art
For longer nails, Halloween acrylic nails provide more space for detailed artwork. Coffin, almond, stiletto, and square shapes can all be decorated with Halloween designs.
You can experiment with 3D ghosts, raised spider webs, rhinestones, chrome effects, glitter, pumpkins, and character-inspired designs. Current Halloween inspiration includes dramatic acrylic sets featuring ghosts, bats, spider webs, blood-drip effects, and chrome finishes.
If you use gel polish, always follow the product manufacturer’s curing instructions and avoid getting uncured gel on the surrounding skin.
Best Tools for DIY Halloween Nails
Before following Halloween nail art tutorials on YouTube, prepare your basic tools. You may need:
- Base coat
- Orange, black, white, red, purple, and nude polish
- Fine detail brush
- Dotting tool
- Nail-art pen
- Nail file and buffer
- Makeup sponge for ombré effects
- Glitter or chrome powder
- Top coat
- Nail stickers or stamping plates
A fine liner brush is especially useful for spider webs, bats, tiny facial details, and other miniature Halloween designs.
How to Make Your Halloween Nail Art Last Longer
Good preparation can make a major difference. Start by cleaning your nails and gently shaping them. Remove old polish and apply a suitable base coat before beginning your design.
Allow each layer to dry or cure according to the product instructions. Avoid applying extremely thick layers because they may take longer to dry or cure properly.
Finally, seal your Halloween nail art with a quality top coat. Pay particular attention to the free edge of the nail because this area can experience more wear.
Halloween Nail Ideas for 2026
For Halloween nail ideas 2026, you can mix traditional spooky themes with modern nail trends. Ghosts, bats, pumpkins, spider webs, black French tips, glitter, chrome, and negative-space designs can all be combined into one manicure.
For example, try a soft nude base with tiny black bats, a single white ghost, and an orange pumpkin accent. This creates a modern Halloween look without covering every nail in heavy artwork.
If you want something bolder, combine black and orange nails with spiderweb details, glitter accents, and glossy finishes.
Final Thoughts
Watching Halloween nail art tutorials on YouTube is an easy way to learn new techniques and discover creative seasonal designs. Whether you want simple DIY Halloween nails, cute ghost designs, pumpkin nails, spider web tips, bat nail art, or dramatic acrylic sets, video tutorials allow you to follow each step visually.
Start with a simple design if you are a beginner, and gradually experiment with more detailed artwork as your confidence improves. Most importantly, have fun with your Halloween manicure and choose colors and designs that match your personal style.
FAQs About Halloween Nail Art Tutorials on YouTube
What are the easiest Halloween nails for beginners?
Ghosts, pumpkins, bats, spider webs, and simple Halloween French tips are excellent beginner options. They can usually be created with basic tools and a few nail polish colors.
What colors are best for Halloween nail art?
Black, orange, white, purple, red, nude, and dark green are popular Halloween nail colors. Combining two or three shades can create a more balanced manicure.
Can I do Halloween nail art on short nails?
Yes. Short nails can look great with tiny ghosts, bats, pumpkins, spider webs, dots, and minimalist French tips. Keeping the artwork small helps prevent the design from looking crowded.
What tools do I need for Halloween nail art?
A fine detail brush, dotting tool, base coat, colored polish, and top coat are enough for many beginner designs. Nail stickers and stamping plates are useful alternatives if freehand painting is difficult.
Are YouTube tutorials good for learning nail art?
Yes. Video tutorials are particularly useful because you can watch brush movements and application techniques, pause the video, and repeat difficult steps while practicing.
What Halloween nail design should I try first?
If you are completely new to nail art, start with a simple ghost, pumpkin, or bat accent nail. Once you become comfortable with basic shapes, try spider webs, French tips, ombré backgrounds, or more detailed Halloween designs.