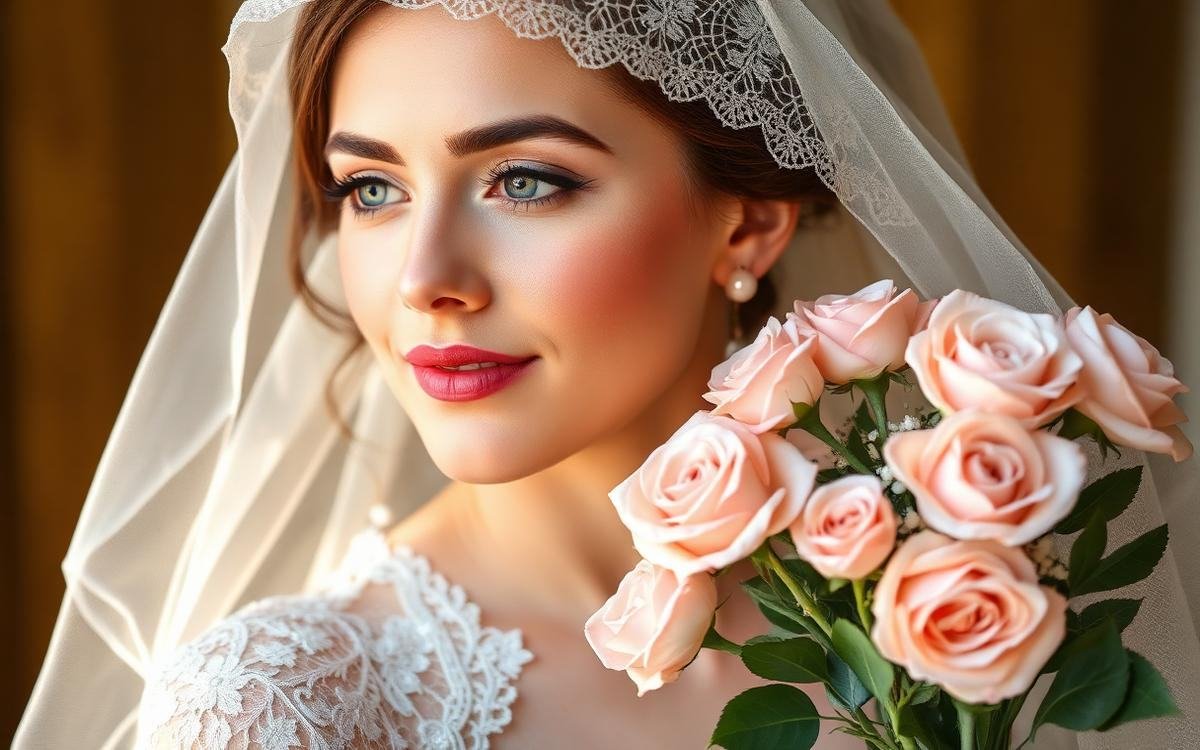
Bridal makeup has one job that ordinary makeup does not: it must look luminous in person, photograph beautifully under flash, and survive fourteen emotional hours. That combination is achieved through preparation, not through more product.
Six Months Out: Prepare the Canvas
Great bridal makeup begins with skin, not cosmetics. Six months before the wedding, establish a consistent routine with a gentle cleanser, a vitamin C serum, a retinoid and daily SPF. Book facials every four to six weeks and stop all new treatments at least four weeks before the day — this is not the moment to try an aggressive peel.
One Month Out: Trial and Lock It In
Schedule a makeup trial in the same lighting conditions and at the same time of day as the ceremony. Photograph the result with flash and without; flashback from heavy silica or SPF-loaded products only reveals itself on camera. Finalise your lip shade, buy a backup of it, and confirm your brows are shaped two weeks before, never the day before.
Step 1: Prime for Longevity
Start with a hydrating primer on dry areas and a mattifying, silicone-based primer through the T-zone. Let each layer set for a full minute. Grip primers help foundation adhere in humid weather, while blurring primers soften texture around the nose and cheeks.
Step 2: Build Foundation in Thin Layers
Choose a long-wear, transfer-resistant foundation matched to your jaw in natural daylight. Apply with a damp sponge in thin layers, building coverage only where needed rather than coating the whole face. Full coverage everywhere reads as a mask in photographs; strategic coverage reads as perfect skin.
Step 3: Conceal and Set Strategically
Use a peach-toned corrector under the eyes before concealer to neutralise blue shadows. Set only the areas that move or shine — under the eyes, the T-zone and the smile lines — with a fine translucent powder. Leaving the cheeks slightly unpowdered keeps the finish alive and youthful.
Step 4: Sculpt, Blush and Highlight
Cream products photograph more naturally than powders. A soft cream contour under the cheekbones, a cream blush blended upward on the apples, and a subtle highlight on the high points of the cheeks, brow bone and cupid's bow create dimension that survives flash photography. Avoid heavy glitter highlighters, which read as oil on camera.
Step 5: Eyes That Read From a Distance
Neutral matte transition shades with a slightly deeper outer corner define the eye without dating the look. Tightline the upper lash line with waterproof pencil, add waterproof mascara, and consider individual lashes rather than a full strip for a natural but lifted effect. Waterproof everything — tears are guaranteed.
Step 6: Lips Built to Last
Exfoliate and balm the lips an hour before. Line the full lip, fill it in completely with liner, apply lipstick, blot, and reapply. A satin finish photographs better than a flat matte, which can emphasise dryness in close-up shots.
The Touch-Up Kit
Pack blotting papers, pressed powder, your lipstick, a small brush, cotton buds, translucent setting spray, and safety pins. Assign the kit to one bridesmaid so it is never in the wrong room.
Final Word
The most beautiful bridal makeup still looks like you. Choose a look you already feel confident wearing, and let preparation — not product volume — carry it through the day.